Exclusive 40% Off Sitewide! 🎁
Exclusive 40% Off Sitewide! 🎁


1.Measure the circumference of your foot in inches and multiply it by 4. Use a sewing tape measure to measure the distance around the middle of your foot. For example, if your foot is 12 inches (30 cm) in circumference, the equation would be: 12 x 4 = 48. This helps to ensure that your socks will be the correct size for you.
In order for the equation to work, you need to use inches in the calculation. To convert a measurement from inches to centimetres, divide it by 2.5.
These instructions create a heel-less sock. These socks are comfy to wear and much easier to knit than regular socks.

2.Cast on that number of stitches onto your size US 6 (4mm) needles. Use the number that you calculated to determine how many stitches to cast onto your socks. For example, if you calculated 48, you will need to cast 48 stitches onto your needles.
This method works best with sport-weight wool.

3.Continue knitting until the material reaches your desired sock length. Use your favourite stitch to knit the wool. Continue to knit until the knitted fabric is long enough to sit over your foot and ankle. If you want the socks to come to your knees, you will need to make them extra long. On average, female shin-length socks are about 20 inches (51 cm) long and male socks are 27 inches (69 cm) long.
Ribbed and knit stitch patterns are popular for socks.
Hold the knitted material up to your foot and leg to help you estimate the length of the socks.
Use the same stitch for the entire sock to make them look cohesive.

4.Decrease the number of stitches on each row to create the toe flap. This narrows the end of your sock to make it fit snuggly around your toes. Knit 2 stitches together to decrease the number of stitches. Instead of releasing 1 stitch from your needle, drop 2 stitches instead to decrease the total number of stitches. Drop 2 stitches each row for 5 rows to create a gentle diagonal line at the end of the sock.
Hold the knitting over your foot to check that it follows the curve of your toes. If necessary, continue to drop 2 stitches each row until the toe section of the sock is the correct length.

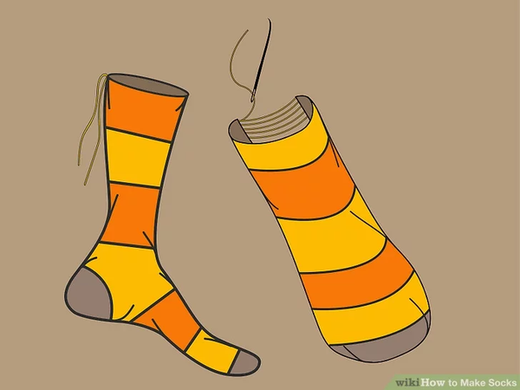
5.Sew the seam to turn your knitting into a sock. Thread a 25 in (64 cm) piece of wool through a needle and knot it at 1 end. Pull the wool through the top stitch on the right seam of the sock and then pull it through the top stitch on the left seam of the sock to pull them together into a tube shape. Continue to join the seam by threading the wool through each stitch down the entire seam of the socks.
Use wool that is the same colour as your socks to help it blend in.
A needle with a wide eye works best for this task, as it is easier to thread.

6
Knot the end of the wool to secure the seams. Tie a tight knot into the end of the wool to stop it from coming loose. If possible, tie the knot on the inside of the sock so that it can’t be seen from the outside of the sock. This helps the socks to look tidy and professional.
Leave a comment